This website uses cookies to ensure you get the best experience on our website.


- Table of Contents
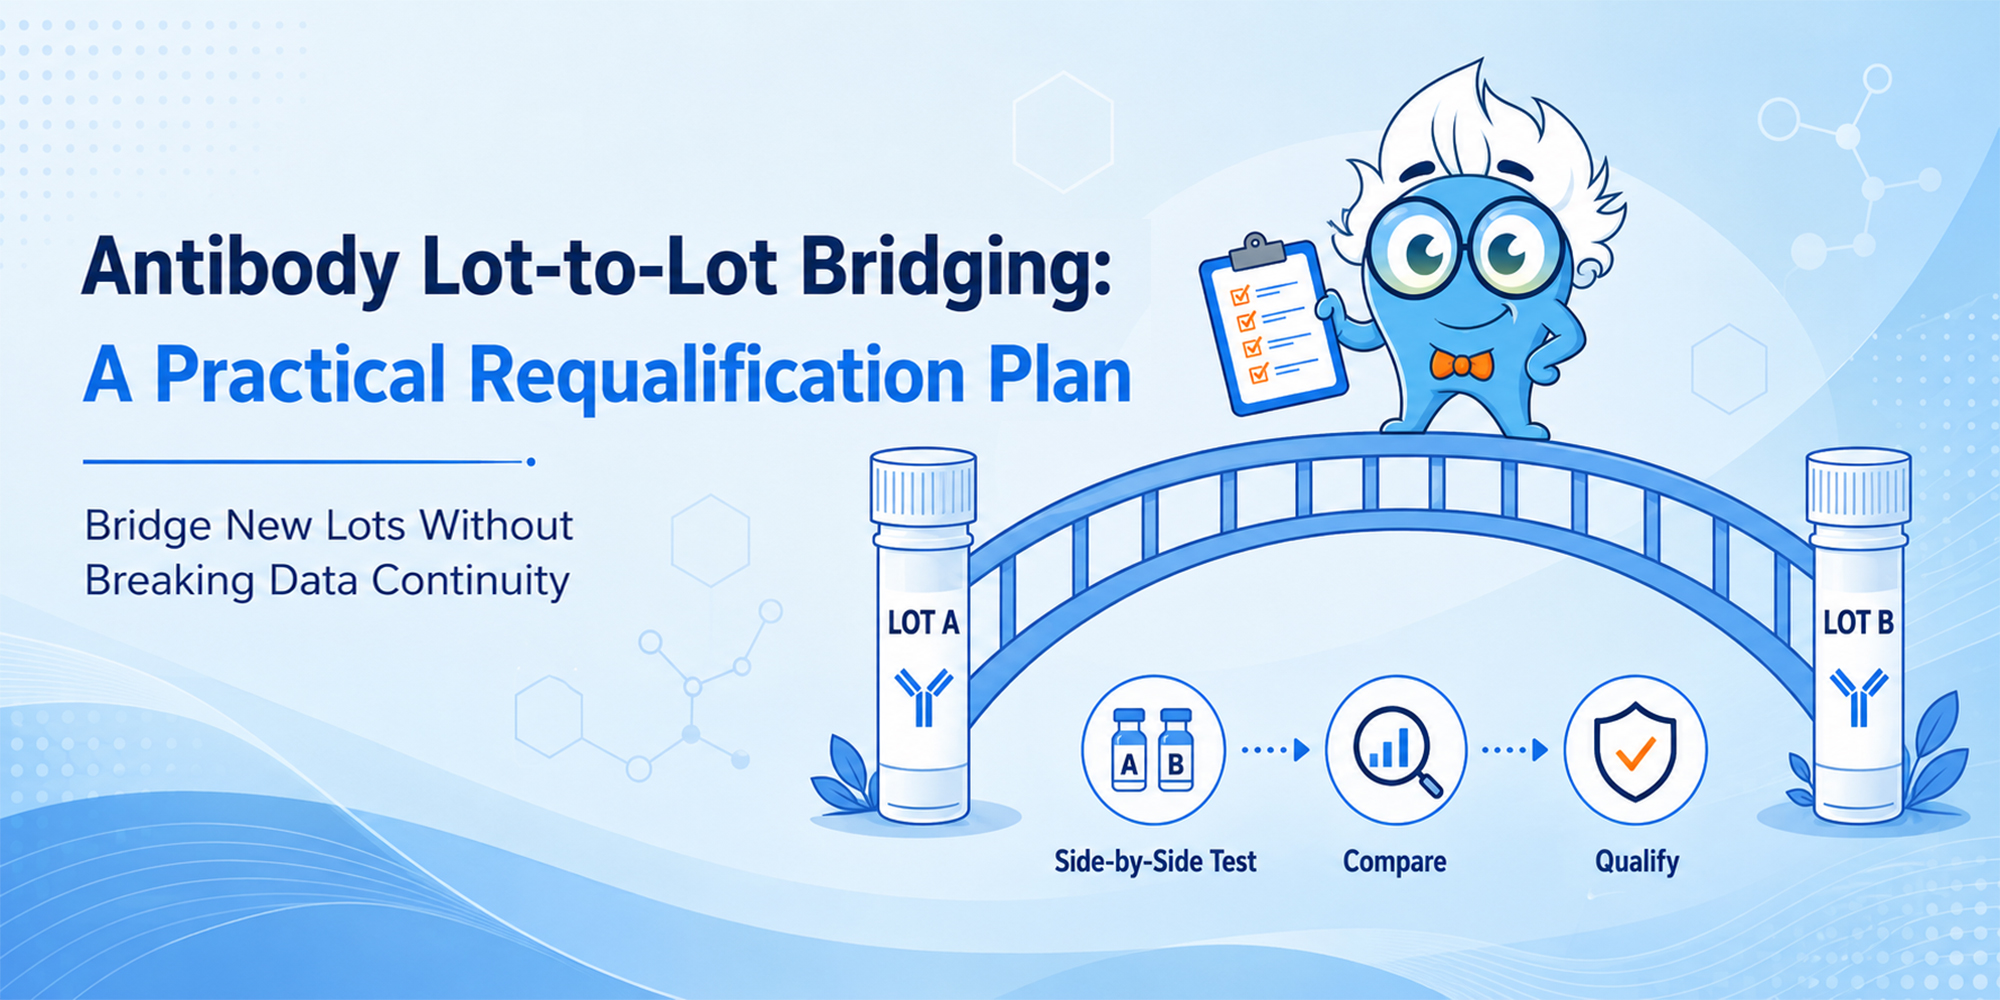
A cross-application, risk-based workflow for comparing antibody lots and protecting data continuity across Western blot, IHC/IF, flow cytometry, and ELISA.
ANTIBODY LOT BRIDGING SERIES
Cross-Application Guide — Use this article for the overall requalification framework. A separate worked example applies the framework specifically to Western blot.
Estimated reading time: 7–9 minutes
A new antibody lot may have the same catalog number, clone, host species, and recommended dilution as the lot already in use, yet produce a weaker signal, higher background, altered localization, or different separation between positive and negative samples. The shift may reflect manufacturing, conjugation, formulation, storage, handling, or ordinary assay variation.
The risk is greatest when data generated with the new lot will be compared directly with historical results. In longitudinal, quantitative, multi-site, or decision-critical studies, an unverified lot change can create a technical difference that looks biological.
Lot-to-lot bridging is a controlled side-by-side comparison of a new lot with a previously qualified lot. The goal is not to prove that the two lots are identical. It is to confirm that the new lot remains fit for the intended application and does not change the scientific interpretation.
Core Principle
Test the new lot in the application in which it will actually be used, under matched conditions, against criteria defined before reviewing the result.
Not every lot transition requires the same amount of work. Use the assay risk, rather than the lot number alone, to determine the depth of requalification.
Antibody format can help estimate risk. Polyclonal antibodies generally require closer attention because the antibody population may change between production lots. Hybridoma and recombinant monoclonals usually offer better continuity, but effective concentration, purification, formulation, degradation, and conjugation can still affect performance.
Acceptance criteria should reflect what the assay needs to preserve, not whether two blots or images look visually identical. Before starting, record the application, sample type, species, expected target range, and whether the readout is qualitative, semi-quantitative, or quantitative.
Then identify the critical performance attributes. Depending on the application, these may include the expected molecular-weight band, tissue or subcellular localization, target-to-background ratio, positive/negative separation, standard-curve behavior, sample ranking, or classification near a decision threshold.
Decision Question
Would the observed lot difference change sample classification, sample ranking, statistical interpretation, or the biological conclusion? A small numerical shift may be acceptable if the answer is no; a visually subtle shift may be unacceptable if the answer is yes.
Begin before the current lot is nearly depleted. Retain enough material for the initial comparison, a repeat run, and confirmation of any adjusted condition. Record storage history and freeze-thaw exposure for both lots.
A strong positive sample alone can hide a loss of sensitivity. Where feasible, include high, intermediate, and low target levels plus a biological negative sample. Use no-primary or secondary-only controls to evaluate detection-system background. An isotype control may help assess nonspecific binding in some settings, but it does not by itself establish antibody specificity.
Run the old and new lots in the same experiment using the same samples, preparation, buffer and secondary-reagent batches, incubation schedule, instrument settings, acquisition method, and analysis pipeline. Prepare matched dilutions from appropriately handled stocks.
The first comparison should answer a practical question: can the new lot enter the existing workflow without changing the method? Use a limited parallel titration only when the signal differs, the assay has a narrow working range, or antibody concentration strongly affects specificity and background. Do not optimize only the new lot and compare it with an unoptimized old lot.
Capture raw data before making a decision. Record signal, background, specificity, localization, curve behavior, sample ranking, and application-specific metrics. Replication should be sufficient to distinguish a lot effect from ordinary analytical variation; higher-risk quantitative assays require more evidence than low-risk qualitative verification.
Set acceptance principles and any numerical limits before reviewing the data. Conclude pass, conditional pass, or fail, and record the rationale, approved working condition, restrictions, reviewer, and date.
The qualification experiment must mirror the intended application. Performance in ELISA, for example, cannot substitute for verification in IHC or flow cytometry.
| Application | Recommended comparison | Key metrics |
|---|---|---|
| Western blot | Same lysate preparation and gel/membrane workflow; matched exposure; parallel dilution only if needed. | Expected band, normalized signal, target-to-background ratio, new nonspecific bands, low-expression detection, sample ranking. |
| IHC / IF | Matched sections, coverslips, or wells; same retrieval/fixation, staining run, imaging settings, and analysis. | Expected tissue or subcellular localization, intensity or score, background, morphology, positive/negative classification. |
| Flow cytometry | Split the same cell suspension; matched staining; evaluate in the intended panel. | Staining index, MFI, percentage positive, population separation, gate stability, spillover or spreading impact. |
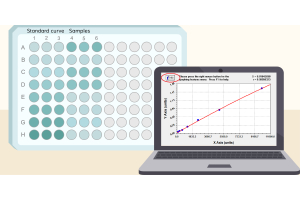
| ELISA | Run both conditions on the same plate when possible; use the full standard curve and representative samples. | Curve behavior, blank/background, low/mid/high QC recovery, sample agreement, replicate precision, decision-limit classification. |
Western Blot Worked Example
Need to see how this framework works in practice? Follow our step-by-step Western blot antibody lot-bridging example, including representative sample selection, matched gel and membrane workflows, densitometry, and a conditional-pass decision.
Universal percentage cutoffs are rarely appropriate across WB, IHC, IF, flow cytometry, and ELISA. Numerical limits should be based on historical within-run and between-run variation, stable QC samples, the assay’s working range, and the magnitude of change that would affect interpretation.
Use qualitative criteria where the readout is categorical: the expected band or localization remains present, no biologically implausible signal appears, and positive and negative samples remain distinguishable. Use quantitative criteria where signal, background, MFI, recovery, concentration, or precision influences the result.
| Decision | Meaning | Action |
|---|---|---|
| Pass | All critical attributes meet the predefined criteria. | Approve the lot under the current method. |
| Conditional pass | A minor, controlled adjustment restores acceptable performance without changing specificity or interpretation. | Confirm and document the revised dilution or condition; monitor initial runs. |
| Fail | Specificity, sensitivity, localization, background, classification, or interpretation is unacceptable. | Do not introduce the lot into the study; investigate, replace, or validate an alternative antibody. |
A failed comparison does not automatically mean the antibody lot is defective. First exclude laboratory and handling artifacts by repeating the critical comparison with fresh matched dilutions and the same samples, buffers, secondary reagent, equipment, and analysis settings.
The minimum record should include the product and lot numbers, receipt and opening dates, storage history, intended use, risk level, samples and controls, experimental conditions, raw data, evaluated metrics, predefined criteria, final decision, approved working condition, reviewer, and approval date.
For frequently used antibodies, run a stable internal QC sample and track signal, background, precision, and lot number over time. This provides a stronger baseline for future transitions and helps separate gradual assay drift from a true lot effect.
Antibody lot bridging is not a search for perfect visual identity. It is a structured demonstration that a new lot preserves the performance required for a defined assay. Start while enough of the old lot remains, use representative samples and appropriate controls, compare both lots under matched conditions, and decide against criteria based on assay variability and biological impact.
Three Rules to Remember
Start before the old lot runs out. Test in the intended application. Decide against predefined, fit-for-purpose criteria.
Continue with an application-specific example: See How to Requalify a New Antibody Lot for Western Blot: A Worked Example.
No. The level of verification should reflect the risk of the assay. A formal bridging study is most important for quantitative, longitudinal, multi-site, regulated, or decision-critical work. A simpler side-by-side verification may be sufficient for exploratory or qualitative experiments that will not be compared directly with historical data.
There is no universal sample number for every application. Include enough representative material to detect a meaningful performance change. Where feasible, test samples with high, intermediate, and low target expression, together with an appropriate biological negative control. Higher-risk quantitative assays generally require more samples and replication than low-risk qualitative experiments.
Qualification is much more difficult without the previously accepted lot because there is no direct reference for comparison. A stable internal QC sample and historical data may provide limited support, but they are not equivalent to a side-by-side study. Begin bridging while enough of the current lot remains for the initial comparison and any repeat testing.
No. A lot that performs consistently in Western blot or ELISA is not automatically qualified for IHC, immunofluorescence, or flow cytometry. Epitope accessibility, sample preparation, detection chemistry, and data analysis differ between applications. Test the new lot under conditions that reflect the application in which it will actually be used.
A different dilution does not automatically mean that the lot has failed. The new lot may receive conditional approval when a limited, documented adjustment restores acceptable signal and background without changing specificity, sample classification, localization, or biological interpretation. Confirm the revised condition in a repeat experiment before introducing it into routine use.