This website uses cookies to ensure you get the best experience on our website.


- Table of Contents
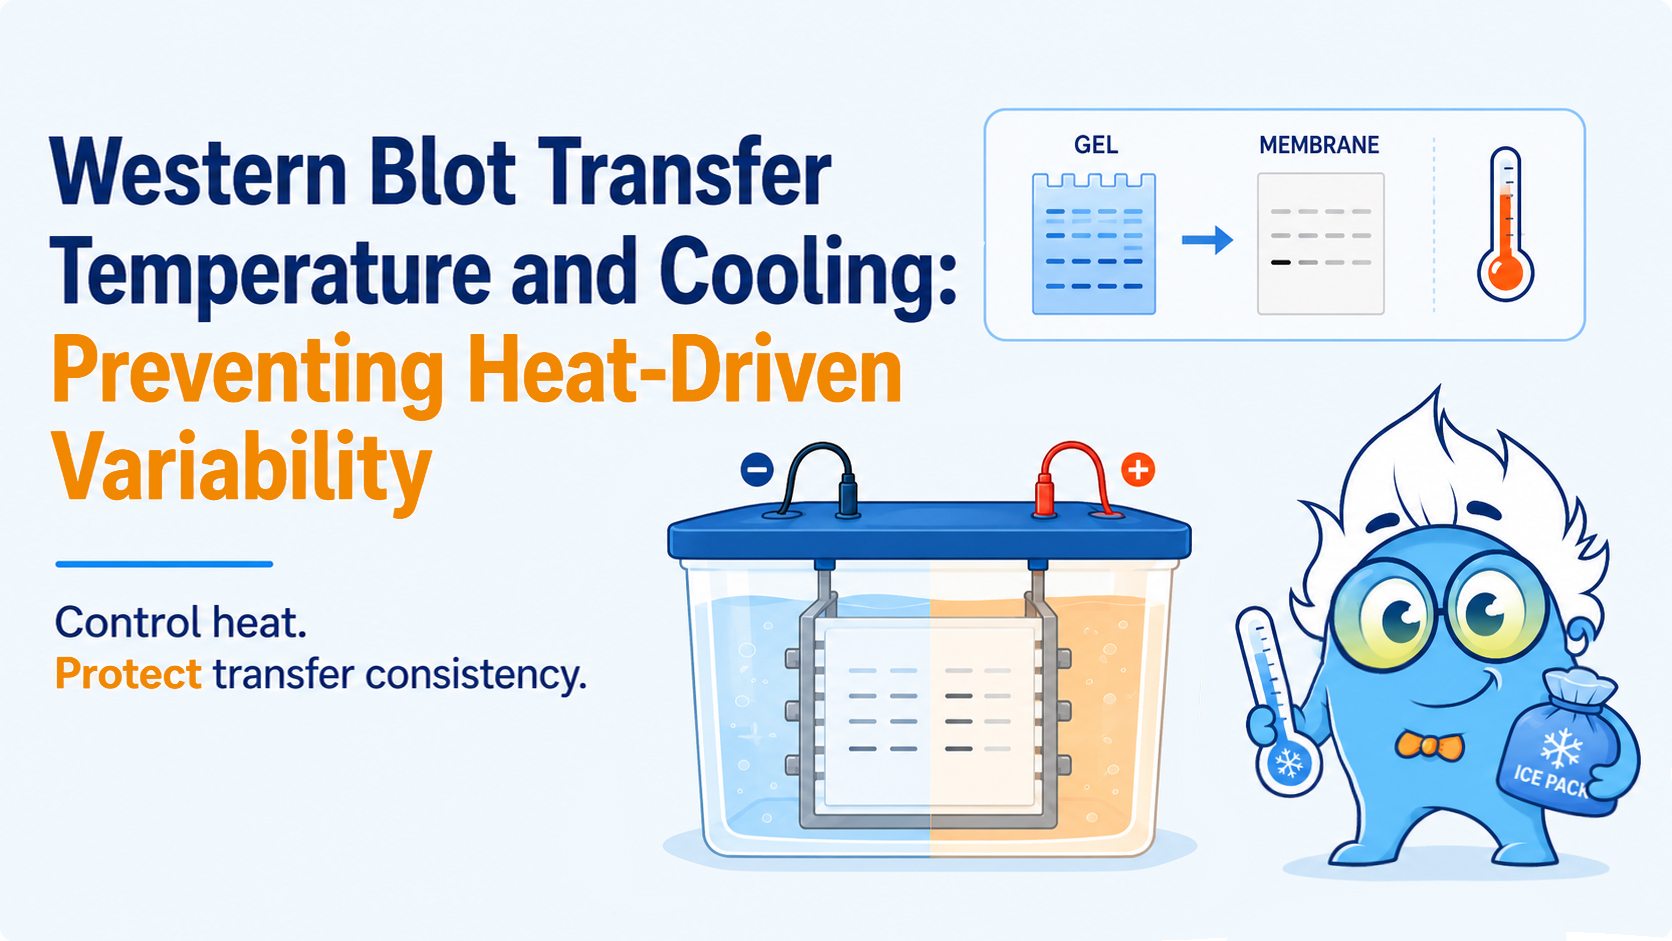
How to separate heat-related effects from contact problems, over-transfer, and membrane-selection errors.
You start a 90-minute wet transfer with cold buffer and a stable power-supply setting. By the end of the run, the tank feels warm, the current has climbed, and the membrane shows uneven staining with a faint low-molecular-weight target. Did the heat cause the problem?
Possibly—but the pattern matters. A gradual change across the membrane may involve temperature or buffer circulation. A sharply defined blank spot is more consistent with a bubble, fold, or dry area in the transfer stack. A missing small protein is usually more closely tied to membrane pore size, transfer time, and field strength than to temperature alone.
Direct Answer
Long or high-current transfers can warm the buffer and change the electrical conditions during the run. That can amplify band distortion, uneven transfer, or small-protein loss. It should be treated as one variable in the diagnosis—not the automatic explanation for every failed blot.
Electrotransfer moves charged proteins from the gel toward the membrane through a conductive buffer. The gel, membrane, filter papers, buffer, and electrodes all resist current flow, so part of the electrical energy becomes heat. A simple model is Q = I² × R × t, where heat increases with current, resistance, and time. The real system is dynamic: buffer conductivity, temperature, electrode spacing, gel composition, and cassette number can all change while the transfer is running. [1,2]
The most useful observation is not whether the tank feels warm. It is whether the electrical profile changed. During constant-voltage transfer, warming can increase conductivity and allow current to rise. During constant-current transfer, the power supply adjusts voltage as resistance changes, but a high current maintained for long enough can still exceed the system’s cooling capacity.
Heating risk rises with high-current or high-voltage wet transfer, long runs without sustained cooling, concentrated or incorrectly prepared buffer, added SDS, several cassettes in one tank, low buffer volume, restricted circulation, and semi-dry programs extended beyond their validated time.
A separate point is worth keeping clear: specialized heat-mediated transfer methods have been reported, but they use defined temperatures, buffer compositions, gel thicknesses, and short transfer times. They do not show that uncontrolled warming is harmless in a conventional wet or semi-dry run. [4]
Heat-related changes tend to affect the transfer gradually or globally. Contact defects tend to produce local, sharply bounded patterns. That distinction is not absolute, but it gives you a better first check than simply labeling any warm run as “overheated.”
| What you see | What it suggests first | What to check next |
|---|---|---|
| A gradual center-to-edge intensity change | Buffer circulation, cassette position, or a thermal/electrical gradient | Compare cassette positions, cooling placement, and current readings. |
| A circular or sharply defined blank spot | A trapped bubble or local contact failure | Reopen the sandwich and inspect the gel–membrane interface. |
| Bands were broad in the gel before transfer | Electrophoresis or sample preparation | Do not expect cooling the transfer to restore band sharpness. |
| A small target is absent but the gel is nearly clear | Over-transfer, poor membrane retention, or detection failure | Add a second membrane and review pore size and transfer duration. |
Excessive heating can contribute to poorly defined bands if the electrical output drifts, gas bubbles form, or the gel softens during a long transfer. But lateral spreading is rarely explained by temperature alone.
First, check the electrophoresis result. If the bands were already broad in the gel, changing the transfer cooling will not correct the underlying problem. Overloading, high salt, incomplete denaturation, sample degradation, excessive running voltage, and delayed transfer can all create a pattern that later looks like a transfer artifact.
Next, inspect the sandwich. Excess liquid, air bubbles, movement between the gel and membrane, or worn foam pads can blur or distort transferred bands. The Western Blot troubleshooting guide provides a broader workflow for separating electrophoresis, transfer, antibody, and imaging problems.
Diagnostic Rule
If the gel bands were sharp but the membrane bands are not, review the transfer stack and electrical profile. If both are broad, start upstream.
Uniform warming is more likely to change overall transfer efficiency. Uneven heating or restricted circulation may create a gradual spatial difference, especially when several cassettes occupy the tank or one side sits much closer to the cooling element.
Sharp blank regions point elsewhere. Check for bubbles, folded or incorrectly sized filter paper, incomplete membrane wetting, compressed foam pads, an incompletely closed cassette, or a dry edge in a semi-dry stack. The filter paper should match the gel and membrane dimensions, remain fully saturated, and lie flat without overlap. Western blotting filter paper is available as a pre-cut option, but uniform wetting and pressure matter regardless of the paper used.
Cooling and circulation solve different problems. A cooling pack removes heat. Gentle stirring reduces local temperature and ion-concentration gradients. Stirring does not remove the total heat generated, and a cooling pack does not guarantee uniform conditions if the buffer remains static.
Diagnostic Rule
A smooth intensity gradient can involve circulation or thermal differences. A sharply bounded blank area usually does not.
Small proteins leave the gel more readily than large proteins. A transfer designed to recover a 150–200 kDa target may therefore be unnecessarily aggressive for a 10–20 kDa target on the same gel. Heating can increase the risk indirectly if current or delivered power rises during the run, but pore size, time, field strength, buffer composition, and membrane binding are the more direct controls. [2,5]
For low-molecular-weight targets, start with a smaller-pore membrane, shorten the transfer, and avoid increasing both time and power in the same optimization. A 0.25 µm nitrocellulose membrane is one practical option when routine 0.45 µm membrane retention is inadequate. [5]
Place a second membrane immediately behind the primary membrane in the direction of protein migration: gel → primary membrane → second membrane → anode. After transfer, stain both membranes and the post-transfer gel.
| Observation | Interpretation |
|---|---|
| Target remains in the gel | Transfer was incomplete or migration out of the gel was poor. |
| Target is mainly on the first membrane | Transfer and membrane retention were adequate. |
| Target appears on the second membrane | The protein passed through the primary membrane. |
| Target is weak on both membranes and absent from the gel | Review membrane binding, protein stability, and detection—not only transfer strength. |
Diagnostic Rule
Protein on the second membrane is evidence of over-transfer. Protein left in the gel is evidence of incomplete transfer. Those problems require opposite adjustments.
A temperature-control method that works for one transfer format should not be copied automatically to another. Tank geometry, electrode distance, buffer volume, and programmed current all change the thermal behavior. [3,5]
| Transfer format | Thermal behavior | Best control |
|---|---|---|
| Wet tank | The buffer provides thermal mass, but long or high-field runs can accumulate substantial heat. | Use the tank’s cooling element, enough buffer, and circulation when supported. Record actual current during long runs. |
| Semi-dry | Very little buffer is available as a heat sink. The transfer is designed to be brief and current density matters. | Use the specified mA/cm², keep the stack uniformly saturated, and do not extend the run casually. |
| Rapid or dry | Heat management is built into the instrument, transfer stack, and program. | Use compatible gels, membranes, stacks, and programs rather than improvising external cooling. |
High-current wet transfer deserves the closest thermal monitoring because heat can build quickly. Long low-voltage transfer deserves monitoring for a different reason: a cooling pack that works for the first hour may not control the rest of an overnight run.
Use buffer at a consistent starting temperature, prepare it at the correct concentration, and keep the number and position of cassettes consistent while validating a method. Pre-chilled buffer can reduce the initial cooling load, but it is not a substitute for sustained cooling during a long or high-power run.
Follow the transfer tank or instrument instructions for buffer volume, electrical settings, cooling, and circulation. Before making changes, compare the setup with the standard Western Blot protocol, particularly the sandwich orientation, membrane preparation, buffer coverage, and post-transfer staining steps.
Record the initial current during a constant-voltage run or the initial voltage during a constant-current run. Repeat the reading during a long transfer and again at the end. A warm tank is subjective; a reproducible electrical profile is measurable.
Added SDS, altered methanol, incorrect dilution, pH adjustment, or buffer reuse can change conductivity and protein binding. When a buffer formulation changes, revalidate current, time, cooling, and membrane retention together rather than treating the buffer as an isolated variable.
Use Ponceau S or another reversible total-protein stain immediately after transfer. The goal is to decide whether the membrane is worth taking forward while transfer is still the main variable. The article How to Check Transfer Quality in Western Blot explains how to read lane uniformity, blank spots, and overall transfer strength before blocking. [5]
This sequence prevents a common mistake: lowering voltage to solve a missing small protein without first determining whether the target remained in the gel or passed through the membrane.
| Observation | Most useful first check | First controlled change |
|---|---|---|
| Bands become broader after transfer | Compare band shape in the gel and membrane; inspect contact and bubbles. | Repeat with the same setup and controlled cooling only. |
| Center and edges differ gradually | Check cassette position, cooling placement, and buffer circulation. | Improve circulation or reposition cassettes without changing transfer time. |
| A sharp blank patch appears | Inspect for a bubble, dry area, wrinkle, or pressure defect. | Reassemble the sandwich under buffer. |
| A small target is absent | Use a second membrane and stain the post-transfer gel. | Use a smaller-pore membrane or shorten transfer if blow-through is confirmed. |
| A large target remains in the gel | Review gel percentage, methanol, SDS, and transfer duration. | Optimize one buffer or time variable while maintaining cooling. |
| Current is unexpectedly high from the start | Verify buffer dilution and any pH adjustment. | Prepare fresh buffer before changing the power setting. |
| Current rises during constant voltage | Check buffer temperature and cooling performance. | Strengthen cooling or reduce power, then repeat with the same buffer formulation. |
There is no universal target that applies to every tank, buffer, membrane, and transfer program. The practical goal is a validated, repeatable thermal and electrical profile. High-power or extended wet transfers often require pre-chilled buffer and active cooling; short integrated programs should follow their system-specific method.
No. Cooling becomes more important as transfer power, duration, gel number, or heat sensitivity increases. A validated short transfer may not need a cold room. An overnight transfer should not be assumed safe simply because the voltage is low.
It can contribute through electrical drift, gel softening, or bubble formation. Broad bands more often begin during electrophoresis or result from overloading, sample condition, poor contact, movement, or image saturation. Compare the gel and membrane before assigning the artifact to heat.
Place a second membrane behind the primary membrane and stain or probe both. Also stain the post-transfer gel. Signal on the second membrane supports blow-through; protein remaining in the gel supports incomplete transfer.
Use the location of the protein to decide. Confirmed blow-through calls for a shorter or gentler transfer and often a smaller-pore membrane. Protein retained in the gel calls for improved elution or more transfer. Unexpectedly high current from the start calls for a buffer check before a power change.
Transfer-buffer heating matters because it can change the conditions experienced by the blot while the run is in progress. It is most likely to become a reproducibility problem during long, high-current, high-voltage, or poorly cooled transfers.
The artifact still has to be read correctly. Broad bands may have started in the gel. Sharp blank spots usually point to contact. Small-protein loss requires evidence that the target passed through the membrane rather than remained in the gel.
A reliable protocol records the buffer formulation, number of gels, starting temperature, actual electrical readings, ending temperature, cooling method, and transfer result. For additional protocols and troubleshooting resources, visit the Western Blotting Technical Resource Center.