This website uses cookies to ensure you get the best experience on our website.
- Table of Contents
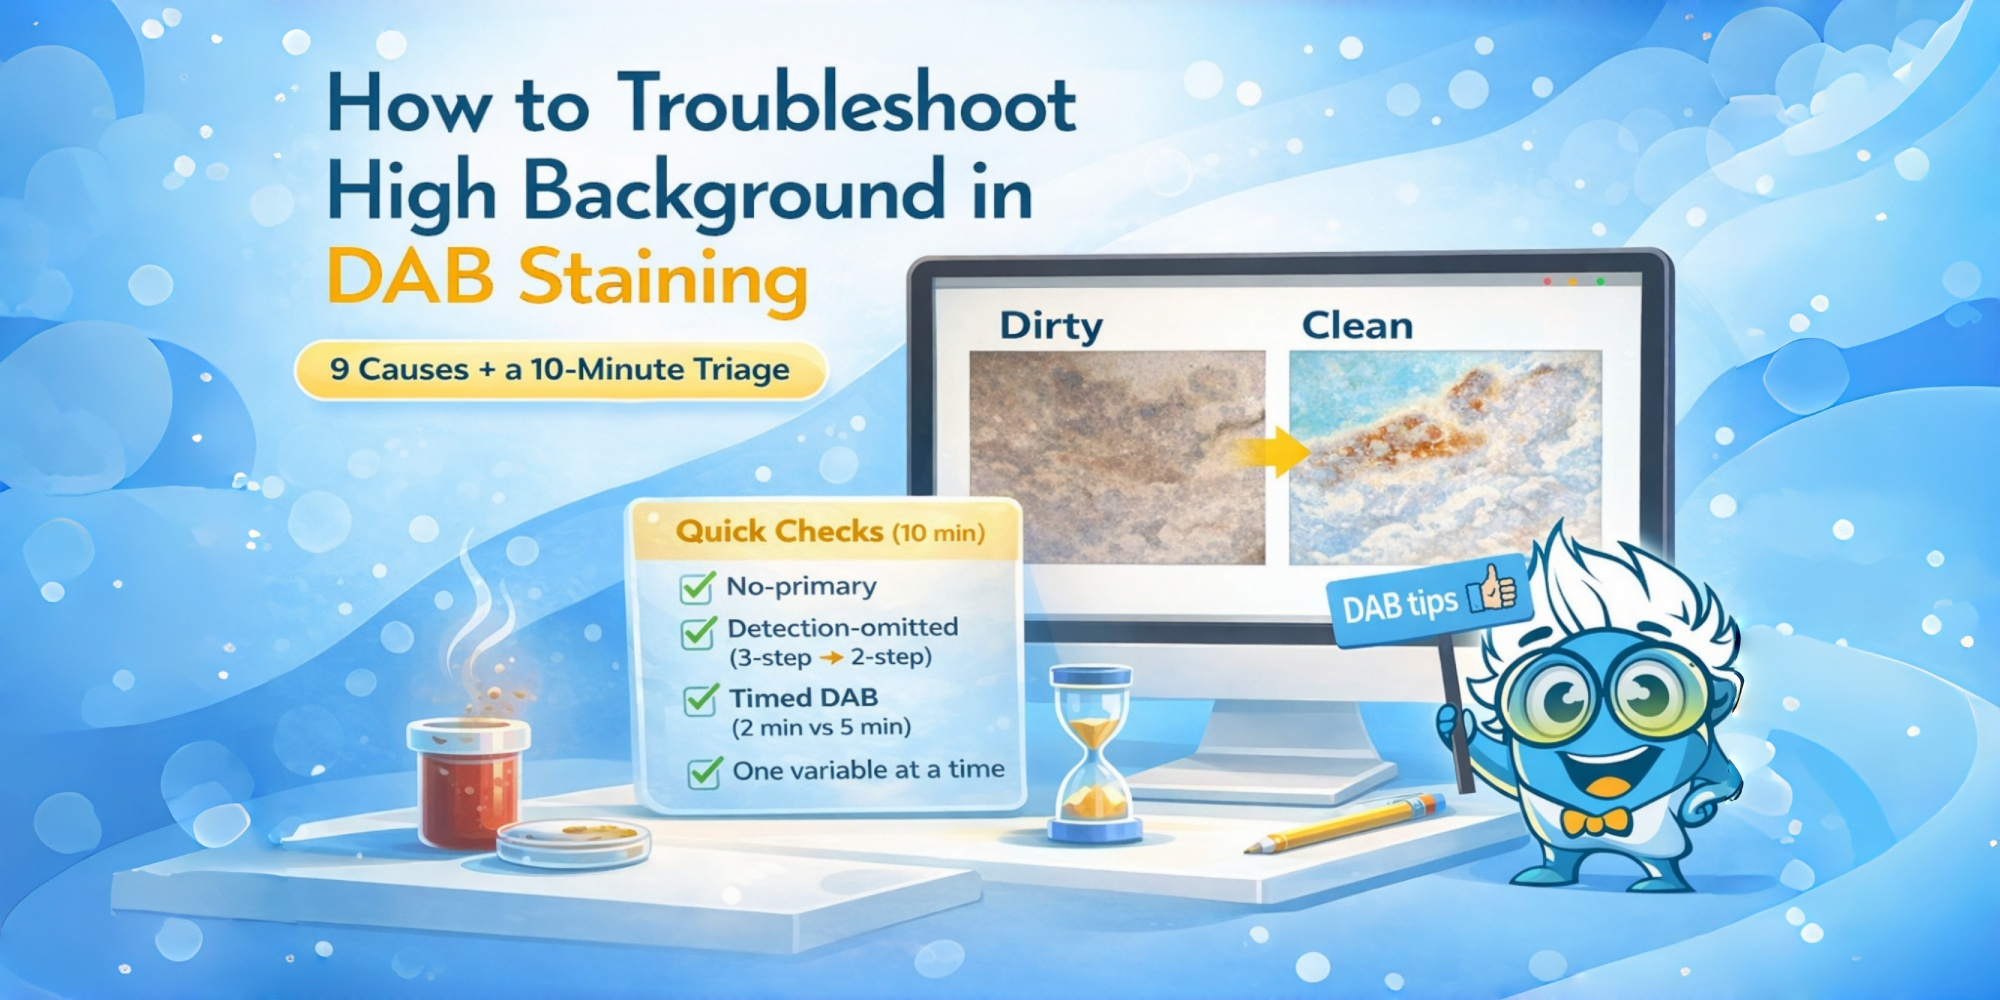
High background in DAB staining usually shows up as one of three patterns: a global brown/gray haze, edge-darkening, or granular brown speckling. The fastest way to fix it is to stop guessing and first identify which layer is generating the background: tissue chemistry, primary binding, the HRP detection/amplification layer, or DAB development.
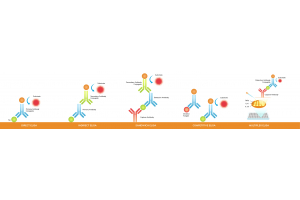
Most “dirty slide” problems resolve faster when you diagnose first: run the minimum controls, apply a few quick checks, then change the right lever in the right order. If you want a quick refresher on what each control proves, start here: how to design positive and negative controls. For a compact signal-generation recap (this post won’t repeat it), see: IHC principle.
To troubleshoot high background in DAB staining quickly: (1) run a no-primary control to test tissue chemistry + detection/DAB background, (2) run a detection-omitted check (convert 3-step → 2-step by keeping primary but omitting all HRP-containing detection/amplification reagents) to see if the detection layer drives background, (3) run a timed DAB development check (e.g., 2 min vs 5 min) to catch overdevelopment, and (4) change one variable at a time, then re-check the same control.
Most DAB IHC background problems fit one (or more) of these patterns:
When you see these, don’t change everything. Start by proving what kind of problem it is.
Rule: Use controls to localize the layer (tissue/chemistry vs detection vs primary), then change one variable at a time and re-check the same control.
| Check (order) | What it isolates | If it’s “dirty”… suspect | Fix first |
|---|---|---|---|
| 1) No-primary control (secondary/detection + DAB; no primary) |
Tissue chemistry + detection + DAB | Endogenous peroxidase, DAB overdevelopment, wash/section artifacts, detection nonspecificity | Quench → shorten DAB time → strengthen washes → check edge drying |
| 2) Isotype control (matched isotype; same concentration) |
Primary-driven nonspecific binding (supportive) | Primary nonspecific binding / tissue “stickiness” | Interpret with no-primary; consider titration or blocking strategy adjustments |
| 3) Detection-omitted control (convert 3-step → 2-step: keep primary; omit ALL HRP detection/amplification—HRP polymer, HRP-secondary, or ABC-HRP) |
Detection/amplification layer contribution | Detection nonspecificity or over-amplification (HRP polymer / HRP-secondary / ABC-HRP) | Reduce detection strength/time → increase washes → re-titrate primary |
| 4) Timed DAB development (e.g., 2 min vs 5 min) |
DAB time/reagent sensitivity | Overdevelopment or unstable/aged reagents | Shorten development → use fresh DAB → standardize stop/wash |
Related: If you’re looking for reagents used across common HRP/DAB workflows, browse: IHC reagents.
Priority rule: When signal is present but slides look “dirty,” adjust DAB development time and detection strength first. Revisit antigen retrieval only if needed.
| Cause | Quick check | First fix (validate within SOP) |
|---|---|---|
| 1) Endogenous peroxidase not fully quenched | No-primary is still brown/dirty, often strongest in blood-rich regions | Optimize quench within SOP (tissue-dependent); rinse thoroughly before HRP reagents; confirm with the no-primary control |
| 2) DAB overdevelopment (too long/too strong/not fresh) | Background rises faster than signal when you extend DAB time (2 min vs 5 min) | Shorten DAB time; use fresh DAB; standardize stop/wash |
| 3) HRP detection over-amplification (polymer/secondary/ABC) | Detection-omitted is clean but full stain is dirty | Reduce detection strength/time; increase washes; re-titrate primary for SNR |
| Cause | Quick check | First fix |
|---|---|---|
| 4) Necrosis, hemorrhage, or RBC-rich regions | Background localizes to damaged/RBC-heavy areas and persists in no-primary | Exclude damaged ROIs (document rules); optimize quench + washes |
| 5) Edge artifact / partial drying during staining | Edges consistently darker than center; repeatable rim pattern | Prevent drying (volume + humidity + timing); ensure coverage; review adhesion (multifactorial—confirm by replicating with tighter humidity/coverage control) |
| 6) Insufficient or inconsistent washing | Background improves when wash number/time increases in a controlled comparison | Standardize wash time/number/agitation; keep buffers fresh |
Slide adhesion reference: poly-L-lysine coated slides.
| Cause | Quick check | First fix |
|---|---|---|
| 7) Primary antibody too concentrated or incubation too long | Dilution series reduces background more than true localization (1×, 0.5×, 0.25×) | Titrate for SNR (not darkest brown); lock dilution + time once optimized |
| 8) Antigen retrieval too harsh (background rises faster than signal) | Stronger retrieval increases background markedly on replicates (often poorer morphology) | Step down retrieval intensity; re-titrate primary; confirm with controls |
| 9) Fixation differences across samples | Same protocol behaves differently across samples with different fixatives/fixation times | Standardize fixation; validate on matched tissue; qualify cross-batch comparisons |
Deep reference (not repeated here): antigen retrieval in immunohistochemistry. Fixation reference: 3 main types of IHC/ICC fixatives.
Use this for rapid interpretation after triage. Then confirm the fix with the same control you used to diagnose the issue.
| Your control result | Most likely source | Best first move |
|---|---|---|
| No-primary is brown/dirty | Endogenous peroxidase; DAB timing/reagent; wash/section artifact | Quench → shorten DAB time → improve washes → check edge drying |
| Detection-omitted is clean, full stain is dirty (HRP detection/amplification omitted) |
Detection layer (HRP polymer / HRP-secondary / ABC-HRP) | Reduce detection strength/time; increase washes; re-titrate primary |
| Background jumps with longer DAB time | DAB overdevelopment | Shorten development; use fresh DAB; standardize stop/wash |
| Edges darker than center | Drying/coverage/adhesion | Prevent drying; ensure coverage; review adhesion |
| Granular brown in RBC/necrosis | Tissue-driven artifact + chemistry | Quench/wash; exclude damaged ROIs with documented rules |
| Background worsens with stronger retrieval | Retrieval too harsh | Step down retrieval intensity; re-titrate primary |
In high background IHC, this means the signal is coming from tissue chemistry/detection rather than antigen-specific primary binding. Start with endogenous peroxidase quenching, DAB timing/freshness, washing, and section artifacts—then re-check the no-primary control.
Use the shortest development time that yields interpretable signal and standardize it. If background rises faster than signal when you extend time (e.g., 2 min vs 5 min), shorten development and confirm reagent freshness.
Edge-darkening is commonly caused by partial drying or uneven coverage. Maintain adequate volumes, humidity, and consistent timing, and verify slide adhesion if tissue lift is present.