This website uses cookies to ensure you get the best experience on our website.
- Table of Contents
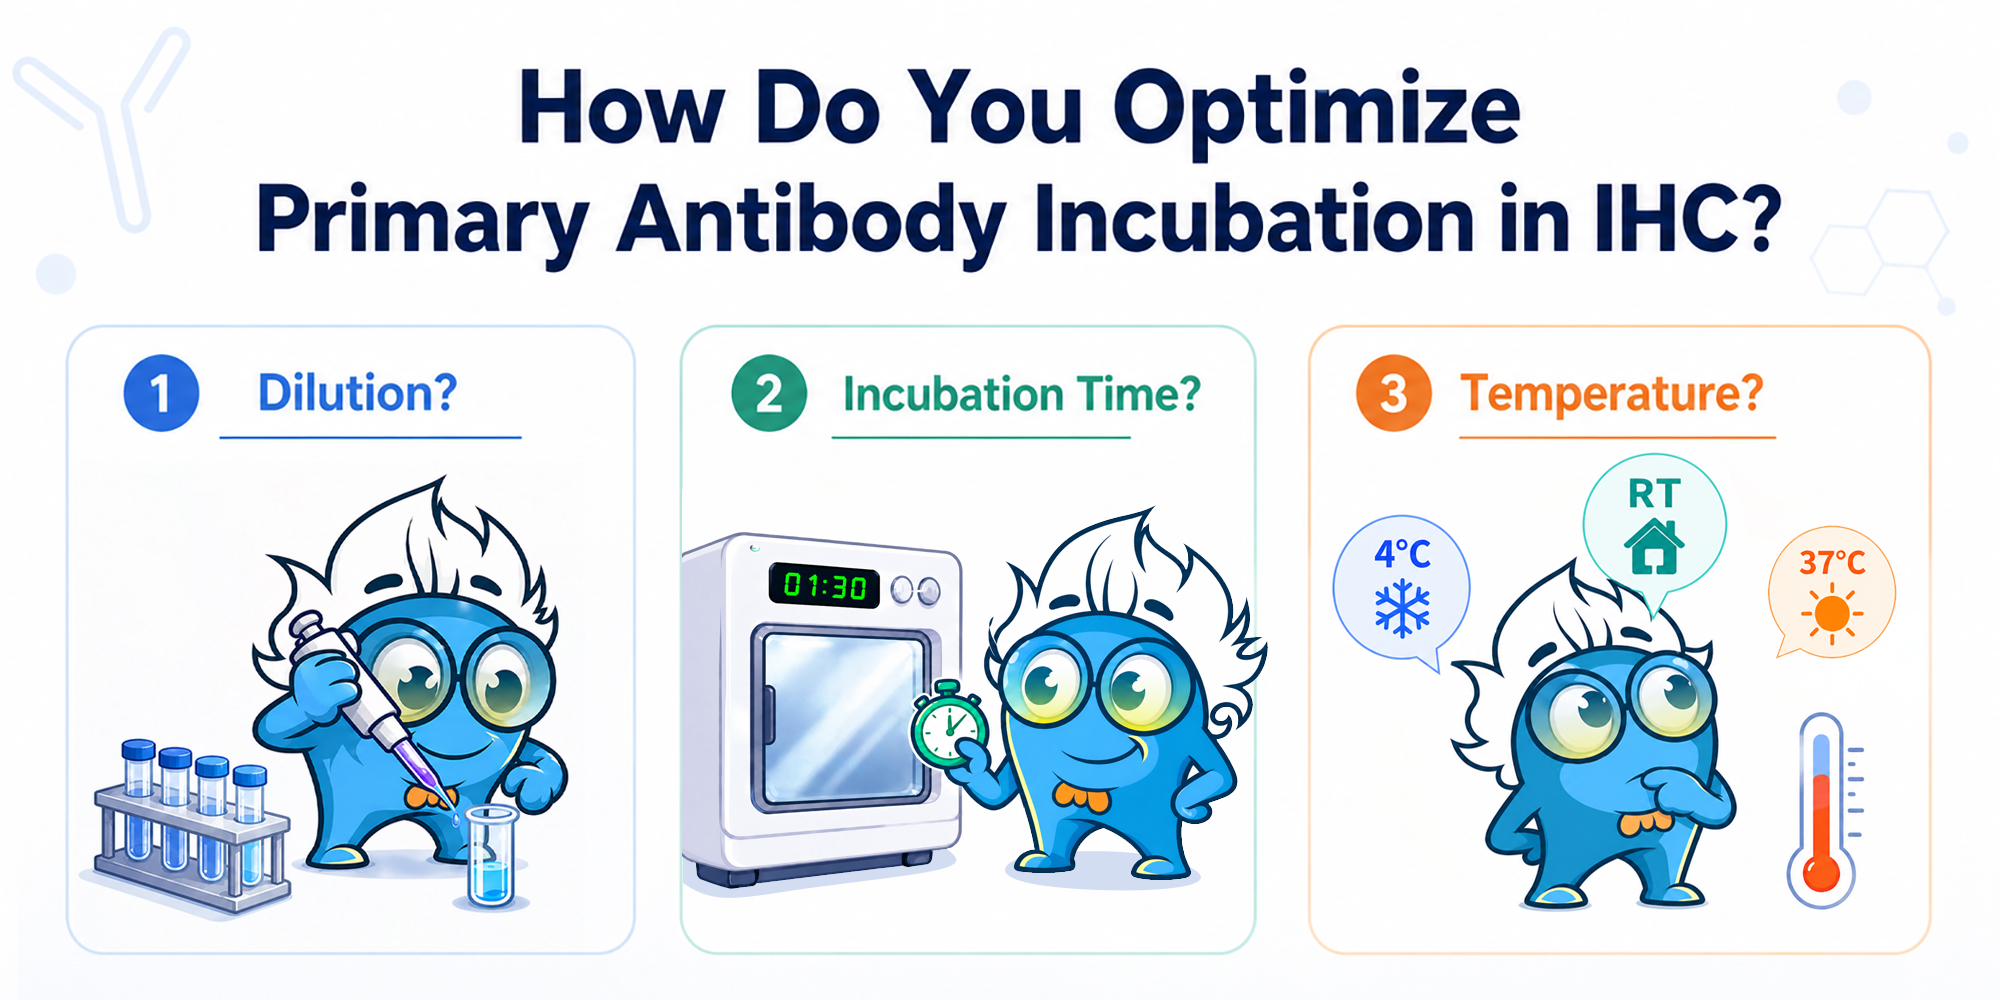
When IHC staining is weak, noisy, or too intense, the next step is not always to replace the primary antibody. In many cases, the result can be improved by adjusting three primary antibody incubation conditions: dilution, incubation time, and temperature.
These parameters directly influence antibody-antigen interactions, which are central to most immunodetection assays.
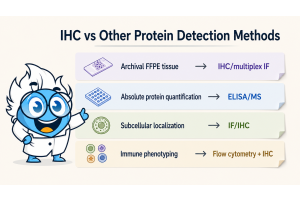
This article shows how to decide which variable to adjust first based on the staining pattern, so you can improve signal, reduce background, and avoid changing the whole protocol at once. For the complete staining sequence, refer to Boster’s full IHC protocol and other reference protocols.
Choose the adjustment based on signal intensity, background, localization, tissue morphology, and controls, including both positive and negative control samples to confirm specificity.
| IHC result | Likely issue | Adjust first | Next step |
|---|---|---|---|
| Weak but clean | Binding may be too low | Dilution or time | Use a less diluted antibody or extend incubation |
| Weak and patchy | Binding or upstream preparation may be uneven | Time, then workflow check | Extend incubation; review antigen retrieval consistency and sample preparation |
| Strong signal, high background | Antibody may be too concentrated | Dilution | Increase dilution before changing other steps |
| Diffuse or nonspecific staining | Incubation may be too aggressive | Dilution and temperature | Increase dilution or use gentler incubation |
| Weak signal, high background | Issue likely extends beyond antibody concentration | Broader troubleshooting | Check retrieval, blocking, washing, and detection first |
Change one major variable at a time. If dilution, time, temperature, retrieval, and detection are all changed together, the result becomes difficult to interpret and may affect the overall assay environment.
The manufacturer’s recommended dilution is a starting point, not a fixed condition for every sample. Tissue type, fixation, antigen abundance, retrieval intensity, and detection sensitivity can all shift the optimal working antibody concentration, especially when targeting different target antigens.
A practical first step is a small titration around the recommendation. For example, if the datasheet recommends 1:200, test a small 2-fold serial dilution series such as 1:100, 1:200, and 1:400 while keeping other conditions unchanged.
Read the pattern: weak signal with low background may be too mild; strong signal with high background may be too concentrated; no signal should prompt a review of the positive control, antigen retrieval, and detection system before increasing antibody concentration. Keep the upstream IHC workflow consistent before comparing dilutions, as lot-to-lot variations can also influence results.
Dilution is often the first variable to adjust when signal and background are out of balance. A less diluted antibody usually increases target signal, but it can also increase nonspecific binding, especially in background-prone tissues or highly sensitive detection systems.
Use a less diluted antibody when staining is weak but clean, the positive control is faint, the target is low abundance, and the no-primary or negative control does not suggest a major background issue.
Use a more diluted antibody when signal is visible but background is high, staining is diffuse, the slide shows broad DAB haze, or controls suggest background. This is particularly important in tissue sections where structural complexity can contribute to background fluorescence or nonspecific chromogenic signal.
If the background looks like broad DAB haze rather than target-localized staining, troubleshoot high background in DAB staining before increasing antibody concentration or incubation time.
| Adjustment | Expected effect | Best used when | Risk |
|---|---|---|---|
| Less diluted / more concentrated | Stronger signal | Weak but clean staining | May increase background |
| More diluted / less concentrated | Cleaner staining | High background or diffuse staining | May reduce weak signal |
Antibody incubation time controls how long the antibody can bind accessible epitopes. Extending incubation may help when the signal is weak but clean, especially for low-abundance targets or a correct but faint baseline pattern.
Longer incubation is less useful when the slide is already noisy, because nonspecific interactions also have more time to develop. If high background is the main issue, adjust dilution, review washing and blocking, or use a gentler temperature before extending incubation.
Shorter incubation can reduce background when signal is already strong, but it may weaken low-abundance targets. Interpret time together with signal intensity and staining pattern.
A 4°C overnight incubation is a common primary antibody incubation option and is often used as a gentler condition when specificity or background control is a priority. It may help with weak but clean staining, difficult targets, or cases where warmer incubation produces diffuse staining.
Room temperature incubation is a practical middle ground for routine optimization. A 37°C incubation can speed up binding and may increase signal, but it can also increase background, so it is usually not the first choice for noisy slides. If the staining pattern is diffuse or biologically unexpected, consider whether it is a non-specific staining in IHC issue rather than only a temperature problem.
| Condition | Main advantage | Best used when | Caution |
|---|---|---|---|
| 4°C overnight | Gentler binding | Weak but clean signal; specificity-sensitive targets | Longer workflow |
| Room temperature | Practical balance | Routine optimization | Needs consistent timing |
| 37°C short incubation | Faster staining | Known antibody performance | Higher background risk |
Start with a baseline condition based on the datasheet or existing protocol, then adjust one major variable while keeping retrieval, blocking, secondary antibody, detection, washes, and development time consistent.
| Condition | Dilution | Time | Temperature | Purpose |
|---|---|---|---|---|
| A: Baseline | Recommended | Standard | Standard | Reference result |
| B: Stronger binding | 2x more concentrated | Same | Same | Test weak signal |
| C: Cleaner staining | 2x more diluted | Same | Same | Test background reduction | D: Longer/gentler | Same | Overnight | 4°C | Improve signal without raising background | E: Less aggressive | Same | Shorter | RT or lower | Reduce background while keeping signal |
Record target signal, background, localization, tissue morphology, and controls. Quantitative metrics such as Mean Fluorescence Intensity can also be used in fluorescence-based assays to objectively compare conditions. The best condition is not the darkest stain; it is the clearest target-specific signal with acceptable background and the expected biological pattern.
If the signal improves and the background stays low, the previous condition was probably too mild. If signal improves but background also increases, try an intermediate dilution, lower temperature, or review blocking, washing, detection sensitivity, and DAB development time.
If background decreases but signal becomes too weak, test an intermediate dilution or a longer, gentler incubation. If no condition gives acceptable staining, the issue may be retrieval, tissue preservation, target expression, detection, or antibody suitability rather than primary antibody incubation.
If stronger primary antibody conditions still do not recover signal, the antigen retrieval method - such as HIER versus enzymatic retrieval - or retrieval intensity may be limiting epitope exposure.
Broader troubleshooting is needed when the no-primary control shows background, the positive control does not stain, the negative control stains unexpectedly, tissue morphology is poor, all dilutions produce high background, or all incubation conditions fail.
A positive no-primary control may point to tissue chemistry, endogenous enzyme activity, secondary antibody binding, detection reagents, or other protocol conditions. If staining is diffuse and biologically implausible, use a broader IHC troubleshooting guide rather than focusing only on primary antibody incubation.
In complex workflows, especially when using automated staining systems, consistency improves but optimization is still required. Proper antibody validation ensures that observed staining reflects true biology rather than artifacts.
Should I optimize dilution or incubation time first?
If the background is high, start with dilution. If staining is weak but clean, test a less diluted antibody or a longer incubation.
Is 4°C overnight better than room temperature or 37°C?
Not always. A 4°C overnight incubation is generally gentler and may improve specificity in some cases, while 37°C is faster but may increase background.
Does a validated IHC antibody still need optimization?
Yes. Validation confirms that the antibody can work in IHC, but optimal conditions - including dilution, incubation time, and temperature - often still need to be tailored to your tissue, fixation, retrieval, and detection system.
Primary antibody incubation is one of the most adjustable steps in IHC. Dilution mainly affects the signal-background balance, incubation time affects binding to accessible epitopes, and temperature influences speed, specificity, and background risk.
The best condition is not simply the darkest stain. It is the condition that produces a clear target-specific signal, acceptable background, the expected biological pattern, and reliable control results, supported by consistent staining results across experiments.