This website uses cookies to ensure you get the best experience on our website.


- Table of Contents
Multiplex immunofluorescence (multiplex IF) rarely fails because you “missed a step.” It fails because you can’t reliably separate bleed-through, background, and true signal—and you don’t have a fast way to prove what’s actually happening.
Most multiplex problems are solved faster when you diagnose first: run the minimum controls, apply a few quick checks, then change the right lever in the right order. If you’re new to IF terminology, start here: immunofluorescence glossary. If you need a step-by-step workflow reference, use this resource (this post won’t repeat it): IHC/ICC/IF protocol resource.
To troubleshoot multiplex IF quickly: (1) run single-stain controls and view each single stain across all channels to detect bleed-through, (2) run a no-primary control to identify system/sample background, (3) check for saturation in any channel, and (4) optimize each channel for best signal-to-background—but keep settings consistent within the same channel when comparing conditions. Then adjust only one staining variable at a time.
Most multiplex issues fall into one (or more) of these patterns:
When you see these, don’t change everything. Start by proving what kind of problem it is.
You don’t need a dozen controls. You need the right ones.
What it is: Stain each target one at a time, using the same imaging settings you plan to use for multiplex.
What it tells you:
Use it like this (quick):
What it is: Run the full workflow without primary antibodies.
What it tells you:
What it is: Image only the brightest marker (or brightest single-stain) at the exposures you’re using for multiplex.
What it tells you:
Optional: Isotype control—useful when you suspect non-specific binding and your no-primary control is clean but staining still looks wrong. Don’t default to it as a first-line control.
| Quick check | When you’ll see it | Do this (fast) | What it means | Fix first |
|---|---|---|---|---|
| A) Saturation check | “Co-localization everywhere”, flat/glowy signal | Look for clipped highlights (max intensity) in any channel | Saturation can create false positives and fake overlap | Lower exposure/gain on the saturated channel before anything else |
| B) Cross-channel leak check (single-stain scan) | Signal shows up in multiple channels | View a single-stain image across all channels using multiplex settings | Spillover/bleed-through or detection cross-talk (not biology) | Reduce bright-channel exposure and rebalance signal; verify again with single-stain |
| C) Background source check (no-primary) | Haze/grain, especially in one channel | Compare no-primary to multiplex using the same display scaling | Background is system/sample/detection-driven | Tighten wash consistency; reduce non-specific signal sources; check detection/secondary behavior |
| D) Exposure consistency check | Overlap appears/disappears when brightness changes | Set each channel independently for clean signal-to-background, but keep the same settings within each channel when comparing conditions; avoid “auto” adjustments. | Imaging settings are driving the interpretation | Keep per-channel settings consistent for comparisons; re-evaluate overlap after settings are standardized. |
Rule of thumb: Fix imaging QC (saturation + per-channel exposure rules) before changing staining variables.
When multiplex looks wrong, apply fixes in this order (least effort → biggest impact):
Further reading (no overlap with this post): How to Choose Fluorophores for Multiplex IF. If what you’re seeing looks like tissue autofluorescence (broad, structure-like background), use this guide: 5 Tips to Reduce Autofluorescence.
| What |
|---|

Multiplex immunofluorescence, or multiplex IF, often looks “simple” on paper—until channels start bleeding into each other, weak targets disappear, or background forces you to crank exposure. In reality, most multiplex failures come from three upstream issues: channel planning, where brightness is mismatched to abundance, overlap, including spectral spillover and crosstalk, and missing controls, meaning no single-stain proof. The goal is not “more color,” but clean, interpretable signal with defensible imaging rules—so your colocalization reflects biology, not artifacts.
This post is a practical workflow for fluorophore selection in multiplex IF: plan channels by abundance, prevent bleed-through, and validate with controls. It’s written as a microscope-side SOP—decision rules plus checks—not a fundamentals-only overview. If you want to align upstream variables first, start here: sample preparation for IHC/ICC/IF and cell/tissue fixation.
To choose fluorophores for multiplex immunofluorescence and prevent bleed-through, (1) assign the brightest channel to the lowest-abundance target, (2) keep channels spectrally separated, (3) verify spillover with single-stain controls, and (4) optimize imaging settings per channel, then keep them constant within the same channel for any group/sample comparisons.
To make the intent clear: this post is a multiplex IF workflow—channel planning, single-stain spillover checks, and within-channel imaging consistency for comparisons. For fundamentals—what a fluorophore is, spectra basics, and selection basics— see how to choose the right fluorophore...

ELISA can be deceptively “clean.” The standard curve looks smooth, duplicates are close, and the plate reads without errors—yet the final concentrations don’t make biological sense, shift between runs, or fail to reproduce across days or operators.
In most cases, the issue isn’t pipetting skill. It’s experimental design: missing controls, standards that don’t match the sample range, dilution choices made without a quick pre-check, or plate reading/recording steps that ar
...
Western blot “quantification” is often treated like a software task. In reality, most wrong numbers come from two upstream issues: saturation (signal no longer scales with protein amount) and normalization (a reference that shifts or saturates). The goal is not “the darkest band,” but measurable signal in the linear range with a defensible reference—so your fold change reflects biology, not imaging artifacts.
This post is a practical, 5-minute workflow for western blot quantification: capture a quantifiable image, measure band intensity (densitometry), normalize (loading control or total protein), and calculate fold change. If you want broader context or need to fix blot quality first, these internal hubs are designed to be your next clicks:

Western blot “failures” are often blamed on antibodies, transfer, or blocking. But in many cases, the real bottleneck happens earlier: lysis choice plus lysate handling. A buffer that’s too mild can leave your target behind. A buffer that’s too harsh can produce viscous, debris-rich lysate that smears lanes and raises background. The goal is not “the strongest lysis possible,” but the mildest system that reliably extracts your target with the best signal-to-background—and then handling it in a way that keeps lanes clean.
This post is the very beginning for our Western blot experiment starting from sample prep. If you want broader context (or want to move downstream after lysate quality is solid), these internal hubs are designed to be your next clicks:


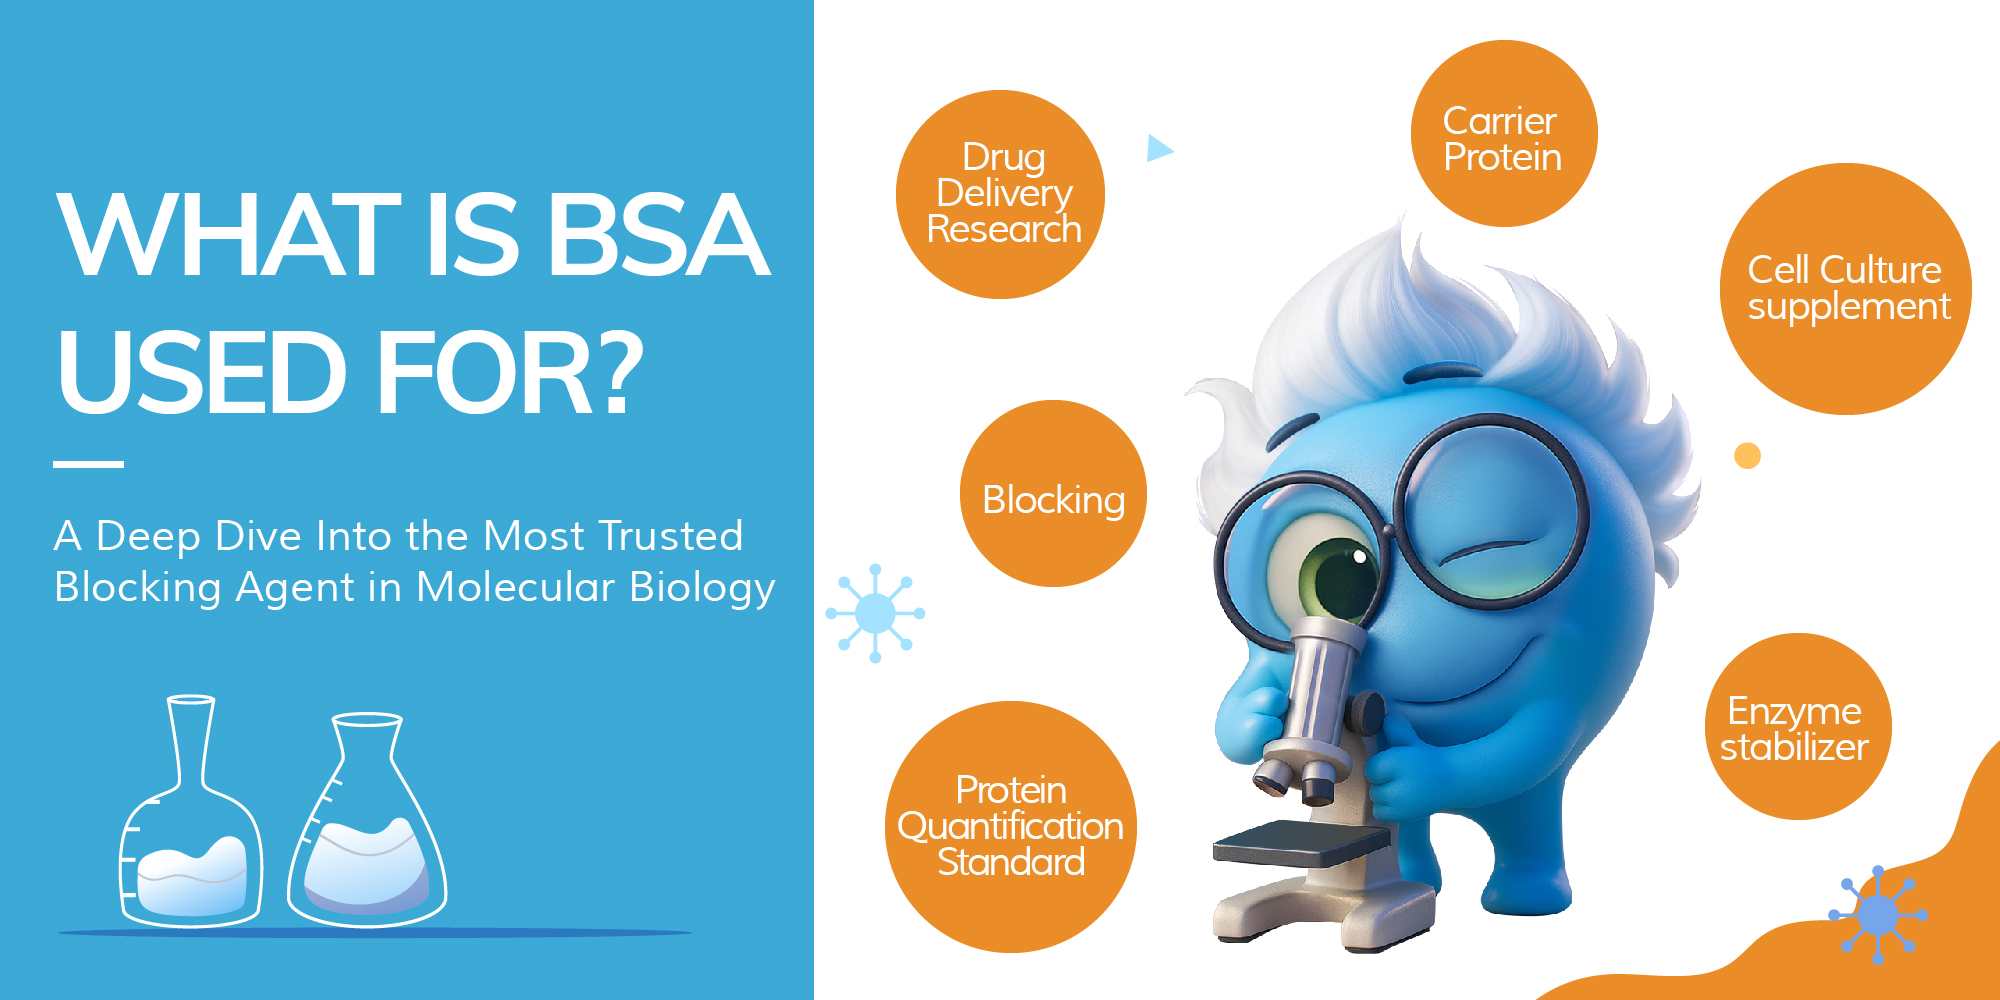
When was the last time you read the buffer section of your protocol instead of just skipping to the fun part—primary antibody incubation? Let’s be honest: for many of us, the blocking step is that quiet moment between coffee and confusion. But while often overlooked, the blocking agent you choose can make or break your experiment—and one of the most dependable names in that game is Bovine Serum Albumin, or BSA. Its ability to reduce nonspecific binding has made it a widely used reagent in research assays and in vitro diagnostic test kits, where consistent assay performance is essential.
In this article, we take a deep dive into the science and subtlety of this humble protein—from its origins to its performance in dilution buffers, and how it stacks up against its rivals like non-fat dry milk and fish gelatin.
The story of Bovine Serum Albumin (BSA) stretches back to the 19th century, when German and Swedish chemists first separated serum proteins such as albumins and globulins from animal blood. The term “albumin” itself was already in use by the early 1800s, when French chemist Antoine Fourcroy and his contemporaries described this class of water-soluble, heat-coagulable proteins. As protein chemistry advanced, BSA was eventually isolated on its own in the late 19th to early 20th century. By the 1930s–40s, American scientist Edwin J. Cohn developed large-scale purification methods through isoelectric precipitation and plasma fractionation (the famous “Cohn fractionation”), establishing BSA as a reliable tool for experimental research. During World War II, U.S. military and NIH efforts to develop blood plasma substitutes further accelerated improvements in protein purification. While human serum albumin became the standard for clinical use, the purification of BSA played a critical role in refining protein separation technology and cemented its place in laboratory science.
Following its historical development and large-scale purification, Bovine Serum Albumin (BSA) is recognized today as a well-characterized globular protein derived from cow blood serum. As the most abundant protein in bovine plasma, BSA plays essential physiological roles in the animal, including maintaining osmotic pressure and transporting fatty acids, hormones, and other small molecules.
From a molecular perspective, BSA is approximately 66.5 kDa in size and consists of 583 amino acids arranged into a heart-shaped three-domain structure. This configuration imparts remarkable stability across a wide pH range (pH 4–9) and thermal resilience, features that make BSA particularly suitable for in vitro experimental applications. Beyond its structural robustness, BSA’s chemical inertness, high solubility, and compatibility with sensitive immunoassays underpin its ubiquitous presence on laboratory benches worldwide.
In immunoassays like ELISA, Western blot, and IHC, the blocking step prevents antibodies from binding nonspecifically to unoccupied surfaces. If ignored or done poorly, the result is often high background noise and unreliable data.
Enter BSA. Its widespread use as a blocking agent is thanks to three main features:
• Low cross-reactivity: BSA is unlikely to bind to antibodies or interfere with antigen-antibody interactions, especially in mammalian systems.
• Surface coverage: Its globular nature helps it evenly coat unbound plastic or membrane surfaces.
• Chemical compatibility: BSA tends to remain stable across a wide range of buffer systems and temperatures, and doesn’t degrade easily under typical assay conditions.
In essence, BSA acts like an invisible wallpaper—it quietly occupies all the real estate your antibodies might otherwise stick to accidentally, making sure only the intended interactions show up on your blot or plate.
Beyond blocking, BSA is frequently added to antibody dilution buffers. But its role here goes beyond background suppression. In these scenarios, BSA offers protein stabilization, antibody preservation, and reduction of denaturation risk, especially in working solutions that may be stored for extended periods or exposed to slight agitation or heat.
At concentrations around 0.1%–1%, BSA helps maintain antibody structure and function, especially for sensitive monoclonal antibodies or those used at very low concentrations. It also reduces the risk of antibody adsorption to plastic tubes or pipette tips—a subtle but significant source of signal loss in low-volume experiments.
Of course, BSA isn’t the only protein blocker on the scene. Here’s how it compares with several popular alternatives:
| Blocking Reagent | Origin | Cross-reactivity Risk | Fluorescence Compatibility | Shelf Stability | Typical Use Cases |
|---|---|---|---|---|---|
| BSA | Bovine serum | Low | High | Excellent | ELISA, WB, IHC, IF |
| Non-fat dry milk | Skim milk (casein) | Moderate (due to IgG) | Poor with HRP & phospho | Moderate | Western blot |
| Fish gelatin | Cold water fish | Low | Good | Moderate | IF, IHC (fluorescent dyes) |
| Normal goat serum | Goat plasma | Medium | Good | Fair | IHC/IF (species-matched) |
| Casein | Milk protein | High (esp. for phospho) | Poor with phospho detection | Moderate | ELISA (non-phospho) |
Key Takeaways:
• BSA is ideal for experiments requiring low background and high consistency.
• Non-fat dry milk is cheaper but riskier in sensitive detection systems.
• Fish gelatin is a strong contender in fluorescent applications.
• Serum-based blockers introduce species-specific variables and should be matched carefully.
Despite its popularity, BSA isn’t perfect for every situation.
• Biotin-based assays: BSA contains trace levels of biotin, which can interfere with avidin-biotin systems, leading to false positives or increased background noise.
• Phospho-specific antibody work: Some BSA formulations may contain minor impurities th

Buffers are a staple in nearly every molecular biology experiment—but not all buffers are created equal. When working with antibodies, ELISA, IHC, IF, or IP, the difference between PBS and PBST, or TBS and TBST, can greatly affect your results.
In this quick guide, we’ll compare four of the most common buffers used in immunoassays and help you choose the right one for your experiment.
| Name | Description | Basic Components | Common Uses | Characteristics | Recommended Use Cases |
|---|---|---|---|---|---|
| PBS | Phosphate-Buffered Saline | NaCl + K |